Nevernamed22 (talk | contribs) |
No edit summary |
||
| (16 intermediate revisions by 9 users not shown) | |||
| Line 13: | Line 13: | ||
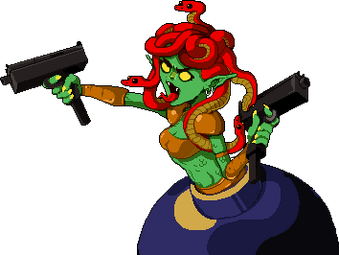
| style="text-align: center;" |[[File:Bosscard Medusalier 001.png|frameless|339x339px|link=Medusalier]] |
| style="text-align: center;" |[[File:Bosscard Medusalier 001.png|frameless|339x339px|link=Medusalier]] |
||
| style="text-align: center;" |[[File:Bosscard Meowitzer 001.png|frameless|link=Meowitzer]] |
| style="text-align: center;" |[[File:Bosscard Meowitzer 001.png|frameless|link=Meowitzer]] |
||
| ⚫ | |||
| ⚫ | |||
|- |
|- |
||
| style="text-align: center;" |[[Medusalier]] |
| style="text-align: center;" |[[Medusalier]] |
||
| style="text-align: center;" |[[Meowitzer]] |
| style="text-align: center;" |[[Meowitzer]] |
||
| ⚫ | |||
| ⚫ | |||
|- |
|- |
||
| ⚫ | |||
| style="text-align: center;" |[[File:Bosscard Chancellor 001.png|frameless|339x339px|link=His Majesty's Chancellor]] |
| style="text-align: center;" |[[File:Bosscard Chancellor 001.png|frameless|339x339px|link=His Majesty's Chancellor]] |
||
| − | | style="text-align: center;" |[[File:Bosscard Buffammo 001.png|frameless|339x339px|link= |
+ | | style="text-align: center;" |[[File:Bosscard Buffammo 001.png|frameless|339x339px|link=Buffammo]] |
| − | | |
||
|- |
|- |
||
| − | | |
||
| style="text-align: center;" |[[His Majesty's Chancellor]] |
| style="text-align: center;" |[[His Majesty's Chancellor]] |
||
| − | | style="text-align: center;" |[[ |
+ | | style="text-align: center;" |[[Buffammo]] |
| − | | |
+ | |} |
| + | |||
| + | ==Hollow== |
||
| + | {| style="width:90%; align:center" data-description="Hollow Bosses" |
||
| ⚫ | |||
| ⚫ | |||
| ⚫ | |||
| ⚫ | |||
| ⚫ | |||
|} |
|} |
||
| − | ==Mines== |
+ | ==Black Powder Mines== |
{| style="width:90%; align:center" data-description="Mines Bosses" |
{| style="width:90%; align:center" data-description="Mines Bosses" |
||
| style="text-align: center;" |[[File:Bosscard Bolt Python 001.png|frameless|339x339px|link=Bolt Python]] |
| style="text-align: center;" |[[File:Bosscard Bolt Python 001.png|frameless|339x339px|link=Bolt Python]] |
||
| Line 54: | Line 55: | ||
|} |
|} |
||
| − | ==Keep of the Lead Lord |
+ | ==Keep of the Lead Lord/Exterior== |
{| style="width:90%; align:center" data-description="Keep of the Lead Lord Bosses" |
{| style="width:90%; align:center" data-description="Keep of the Lead Lord Bosses" |
||
| − | |[[File:Bosscard Bone Dragun 001.png|frameless|339x339px|link=The Last Dragun]] |
+ | | style="text-align: center;" |[[File:Bosscard Bone Dragun 001.png|frameless|339x339px|link=The Last Dragun]] |
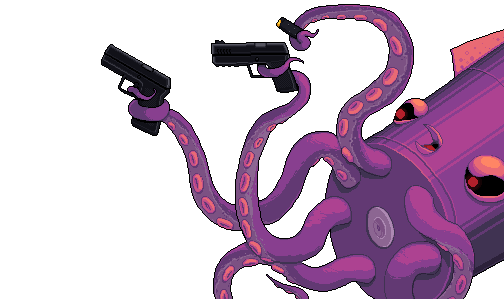
| + | | style="text-align: center;" |[[File:Diginomicon_Glocktopus.png|frameless|339x339px|Glocktopus]] |
||
|- |
|- |
||
| − | |[[The Last Dragun]] |
+ | | style="text-align: center;" |[[The Last Dragun]] |
| + | | style="text-align: center;" |[[Gloctopus]] |
||
|} |
|} |
||
Revision as of 21:58, 3 March 2021
Bosses are strong enemies found at the end of every area in Exit the Gungeon. Defeating a boss allows players to ascend to the next area. Upon being killed, bosses drop a gun or item of random quality, several Hegemony Credits, and two pickups such as hearts or armor. If a boss is killed without the player taking damage, it will also drop a Master Round, increasing the player's max HP.
Halls of Knowledge
| Ser Manuel |
Forge / Hollow
|

|
| Medusalier | Meowitzer |

|

|
| His Majesty's Chancellor | Buffammo |
Hollow

|

|
| Eyebalrog | Gungamesh |
Black Powder Mines

|

|

|
| Bolt Python | Mutread Head | Low Priest |
Gungeon Proper

|

|

|
| Fallmonger | Killinder | Sepulchergeist |
Keep of the Lead Lord/Exterior

|
|
| The Last Dragun | Gloctopus |